The content of static assets remains the same for a long time. Let’s consider the example of WordPress themes and plugins. To make sure that their WordPress products are stable and don’t cause trouble, the WP theme and plugin developers roll out updates once a few months. Thus, unless you edit and modify the code in the theme/plugin stylesheet or JS files, the code will remain the same.
The WP theme and extensions insert their stylesheet and JS code files in the header. If you do not set an expiry time for these resources, the client’s browser will request the file each time they open the page, and too many HTTP requests can make a website slower. If you set an expiry time for static resources, the browser will save the static files, such as CSS or JS files, on the client’s computer and load the same whenever the browser’s user opens the page that has a link to this file in the HTML code.
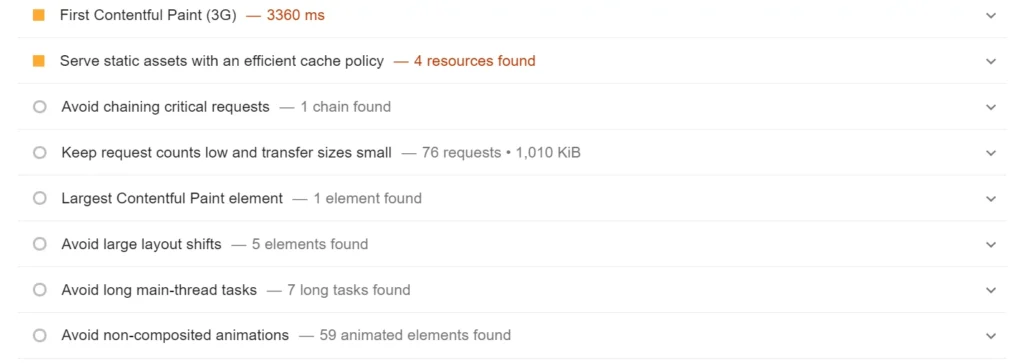
You can fix the “Serve static assets with an efficient cache policy” issue using one of the following two ways:
Change webserver config file
The config file of a web server is one of the most critical files on the server. It has rules that the webserver follows. If you’re using Apache, you must use the mod_expires module to add an expiry time to media files, CSS/JS files, documents, etc. If you’re using the Nginx web server, you must add an expiration variable inside the location block handling static resource files. For example, through the below code, the webserver instructs the browser to save JPG, JPEG, PNG files on the computer of the user for 30 days. You can change 30d to 14d or any other value of your choice.
location ~* ^.+.(jpg|jpeg|png)$ {
expires 30d;
}
Once you enable mod_expires module in Apache or make changes to the location directive in Nginx, restart the webserver and retest the page with the PageSpeed Insights tool. The warning “serve static assets with an efficient caching policy” will now disappear.
Use a plugin
Most WP caching plugins provide an option to set an expiration time for website static files. We’ve discussed the option of some of the most popular caching plugins below:
WP Fastest cache: WPFC has an option called browser caching that will improve the loading time of pages by making the browser store static files.
WP Super Cache: In the advanced section of the WP Super Cache settings page, you’ll find the option to set “cache timeout”. The default time is 30 minutes or 1800 seconds. This option will add expiry time to cached pages on the server.
WP Rocket: WP Rocket automatically modifies your webserver configuration files by adding a long expiry time to resources that must be cached on the client’s computer.
Autoptimize: Autoptimize not only minifies and combine CSS and JavaScript file but also adds cache control headers that instruct web browsers to store the combined/minified files for a specific duration.
As you can see above, it is easy to add expiry time to static resources with the help of a plugin. Most of the WordPress caching extensions let users set expiry times for CSS/JS/Media files. You must explore the plugin’s settings page and find and configure the option as per your requirements.