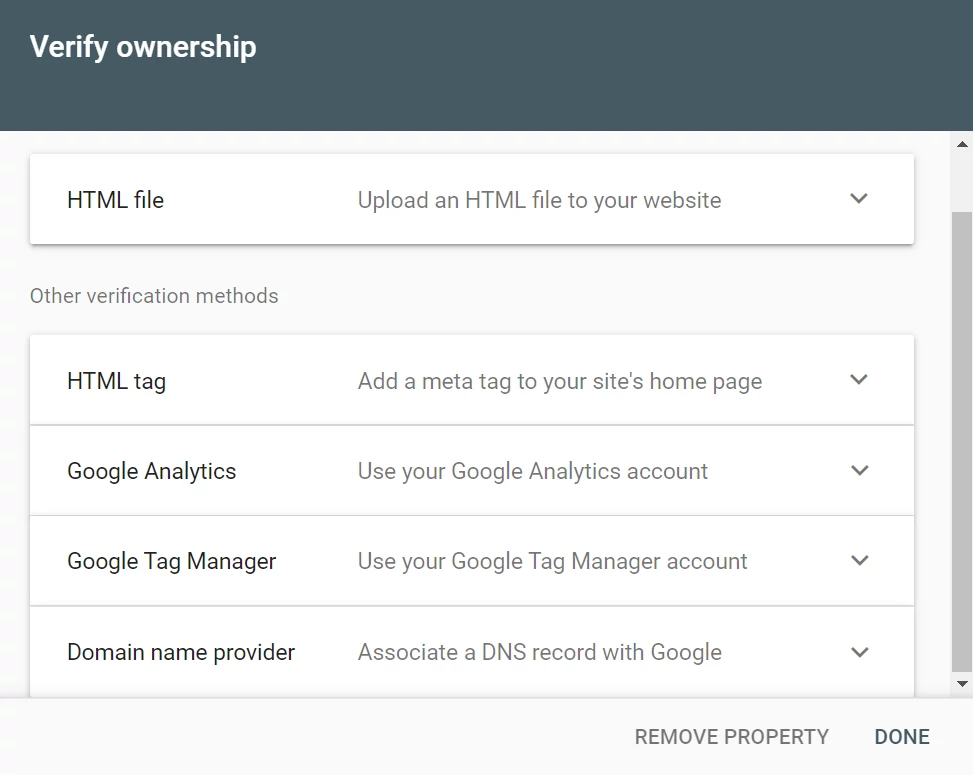
You cannot add any random website to Google Search Console. When you add a site to GSC, the first thing you will be asked to do is prove that you own the website or you have the right to add the site to the GSC. Google Search Console supports the following methods of verification:
DNS: In this verification method, you will be asked to add a TXT record to the zone file. If the DNS propagation is slow, verification using this method might take some time.
Meta tag: This is the easiest and quickest way to verify your website with Google. Google generates a meta tag and displays it in a popup box. You must copy this meta tag and paste it in between <head> and </head> tags of the site. Once you do so, refresh the cache if you’re using a caching plugin and click the Done button. If you’re using WP, all you have to do is open the settings page of the SEO plugin you’re using and copy/paste the tag in the Webmaster section of the plugin. If you’re asked to enter the verification code only, copy the code that is displayed next to the content and paste it into the text box of Google Search Console displayed by the SEO plugin’s settings page. Now, save the settings, clear the cache and click the Done button displayed by the popup box.
HTML file: If you’re not able to verify your website using the above two methods, you can use the upload HTML file method to verify your website in Google Search Console. This file is generated by GSC. What does this file have? Well, the HTML file has nothing but the verification code that you’ll find in the meta tag.
To upload a file to WordPress, you can follow one of these methods:
SFTP: SFTP, aka Simple File Transfer Protocol, enables you to move files from a local computer to a remote computer and vice versa. To use SFTP, you must have SSH access to the remote computer. When you have SSH access, follow the below steps:
If SFTP is allowed over a specific port by your web hosting service provider and you have the port number, run this command SFTP -P port_number username@IP_address. If SFTP is allowed over the default port i.e port 22, run this command SFTP username@IP_address. In the first command, replace port_number with the port number and IP_address with the IP address of the server, and username with the username for the server. Now use the put file_name wp_installation_path command to transfer the file (replace wp_installation_path with WordPress installation location on the server and file_name with the name of the HTML file as it is). Once the HTML file is moved, close the SFTP connection by entering exit in the terminal and hitting the enter key on the keyboard.
FTP: Use the FTP client to connect your PC to the server. Now, open the WordPress installation directory using the FTP client GUI and transfer the HTML verification file you have downloaded to this directory. When the file has been moved, close the FTP connection.