Installed Autoptimize but don’t know how to configure it? Looking for the optimal AO settings for your website? We’ve shared the best AO settings for all types of WordPress sites in the below paragraphs:
The Autoptimize settings page has these tabs – JS, CSS, & HTML, Images, Critical CSS, Extra, and Optimize more. Let’s have a look at various settings in each tab and find out which setting you should enable and which you shouldn’t.
JavaScript options
In the Autoptimize JavaScript options section, enable the aggregate JS files option. What is the benefit of aggregating files? JavaScript is executed on the client side by the browser. You can put the JavaScript code in the HTML file between the <script></script> HTML tags or in a separate file. This file must be called in the HTML code. If there are plenty of JavaScript files, the browser will make N requests for the file where N is the number of JS files. Wouldn’t it be great if the browser called only a single file?
Another useful option in this section is “exclude scripts from Autoptimize”. If your website is monetized with AdSense, you may want to exclude the JS files from being aggregated. You can put the file name in this section of the Autoptimize settings page.
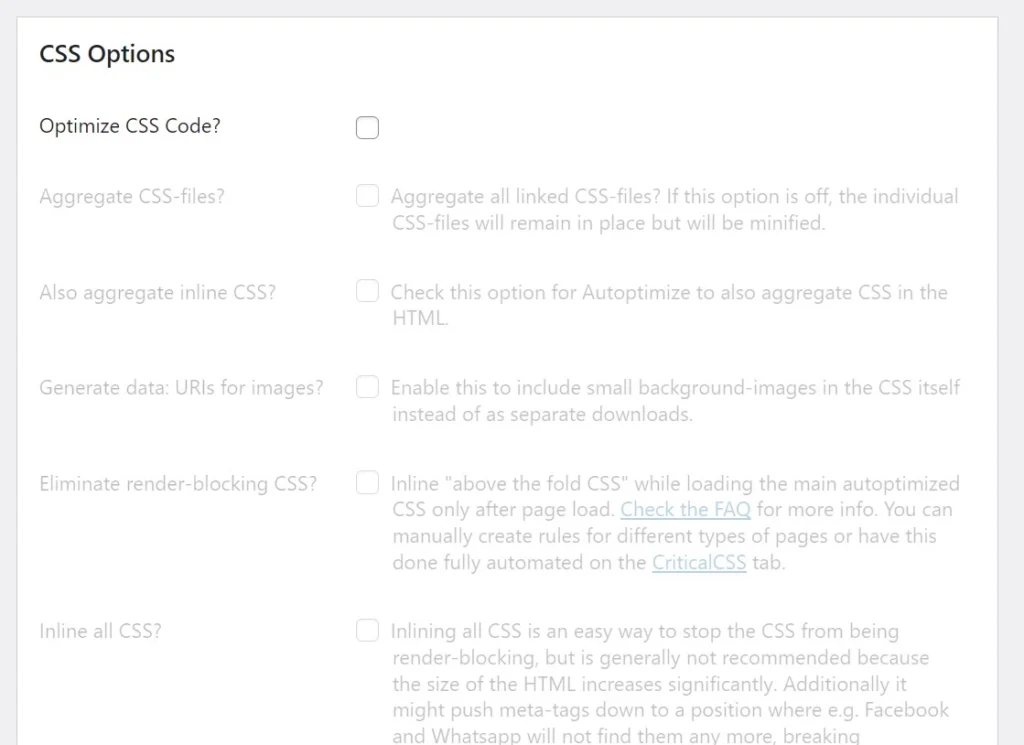
Optimize CSS code
In the Optimize CSS code section, you will find eight checkboxes. The ones should select are as follows:
- Aggregate CSS files.
- Generate data: URI for images.
The first option will combine several CSS files into one. It will also minify the CSS code. The second option will create data URI for small-sized images. The data URI option will reduce the image requests. How is this possible? The plugin will remove the links pointing to small images and generate and put the base64 encoded image in the CSS file. Thereby improving the website speed.
Will the plugin break your portal? Well, CSS is an important part of the website as the entire design of the page is taken care of by CSS. If you don’t know coding cascading stylesheets and modify the code without understanding what it does, the website’s layout may break. We have used Autoptimize in the past and configured the plugin to minify the CSS files. The page appeared as it was before it contained minified version of the code. Some themes (for example, Themify Ultra) provide an option to replace the original CSS files with their minifed version.
If the site appears broken after you enable the two options we’ve shared above, you should find out which part of the website has been affected and find the file that contains the code using the browser developer tools inspect option. Now, note down the file name and put it in the “exclude CSS from autoptimize” textbox.
HTML options
Below the CSS optimization section, you will find the HTML options section comprising three checkboxes – Optimize HTML code, minify inline CSS/JS and keep HTML comments. You can select these three options. The first option will eliminate blank lines from the HTML code and will reduce the size of the HTML by a few kilobytes or bytes. The option number 2 will minify the CSS code wrapped between the <style></style> tags and the JS code enclosed between the <script></script> tags. Autoptimize will minify AdSense HTML code if the code is present on the page. Modifying the AdSense code can be against AdSense’s terms and conditions. This is the reason why you should select the third option.
MISC Options
This section boasts these options – save aggregated script/CSS as static files, enable 404 fallbacks, optimize for logged-in users, and enable configuration per post page. Each checkbox in the MISC Options section is pre-selected by default. You can thus ignore this section.
Images
The images section features these two options only – optimize images and lazy load images. If you’ve a subscription plan for ShortPixel, select option 1. Lazy loading of pictures is enabled by default in the latest version of WordPress.
Critical CSS
Unlike the popular caching plugin WP Rocket, Autoptimize won’t generate Critical CSS for your WP portal. If you’ve extracted critical CSS of your website using a third-party service and want to add the same at the top of the HTML code of your website, open the Critical CSS tab and click the “Add new rule” button. AO will now open a popup with a form to enter the following details:
- Rule type.
- String in path.
- Custom Critical CSS.
Fill in the above fields and click the “Save” button.
Extra settings
From this section, you can make the plugin optimize Google fonts. Autoptimize supports four actions on Google fonts – remove, combine and link in the head, combine and load fonts asynchronously, combine and deferred in the HTML head section. The plugin can remove query strings, WordPress block CSS, and the WP emoji script. It can preload certain requests and pre-connect the browser to third-party domains. It can also load JavaScript files asynchronously.
Every option that you will find in the Extra Settings tab is useful, but you shouldn’t optimize Google Fonts if your site is using them. You must also ignore the “remove Block CSS” option because Blocks are extensively used on WordPress sites.
Closing words: These are the optimal settings for the Autoptimize plugin. The settings work like a charm on all types of WP portals, including WooCommerce websites, websites powered by page builders such as Elementor or Divi Builder, or sites using an Elementor alternative plugin. What if you’re using a fast WordPress theme? No matter how fast a theme is, there’s always a scope for improvement. AO can make your web portal faster.